Route Creation for Applications in the Outrun Cloud Cluster
To provide access to web applications deployed in an Outrun Cloud cluster, you need to create and configure a route. There are two scenarios that may arise when creating a route:
- when the user has their own domain;
- when the user does not have a domain.
Depending on the conditions of each scenario, the user will need to follow different steps to set up the route.
General steps
To create a route, you need to follow these steps:
-
Connect to the Outrun Cloud cluster using the link provided on the main screen (Web Console):

-
Select the
Administratorsection, click on theNetworking -> Routes, choose a project, and clickCreate Route: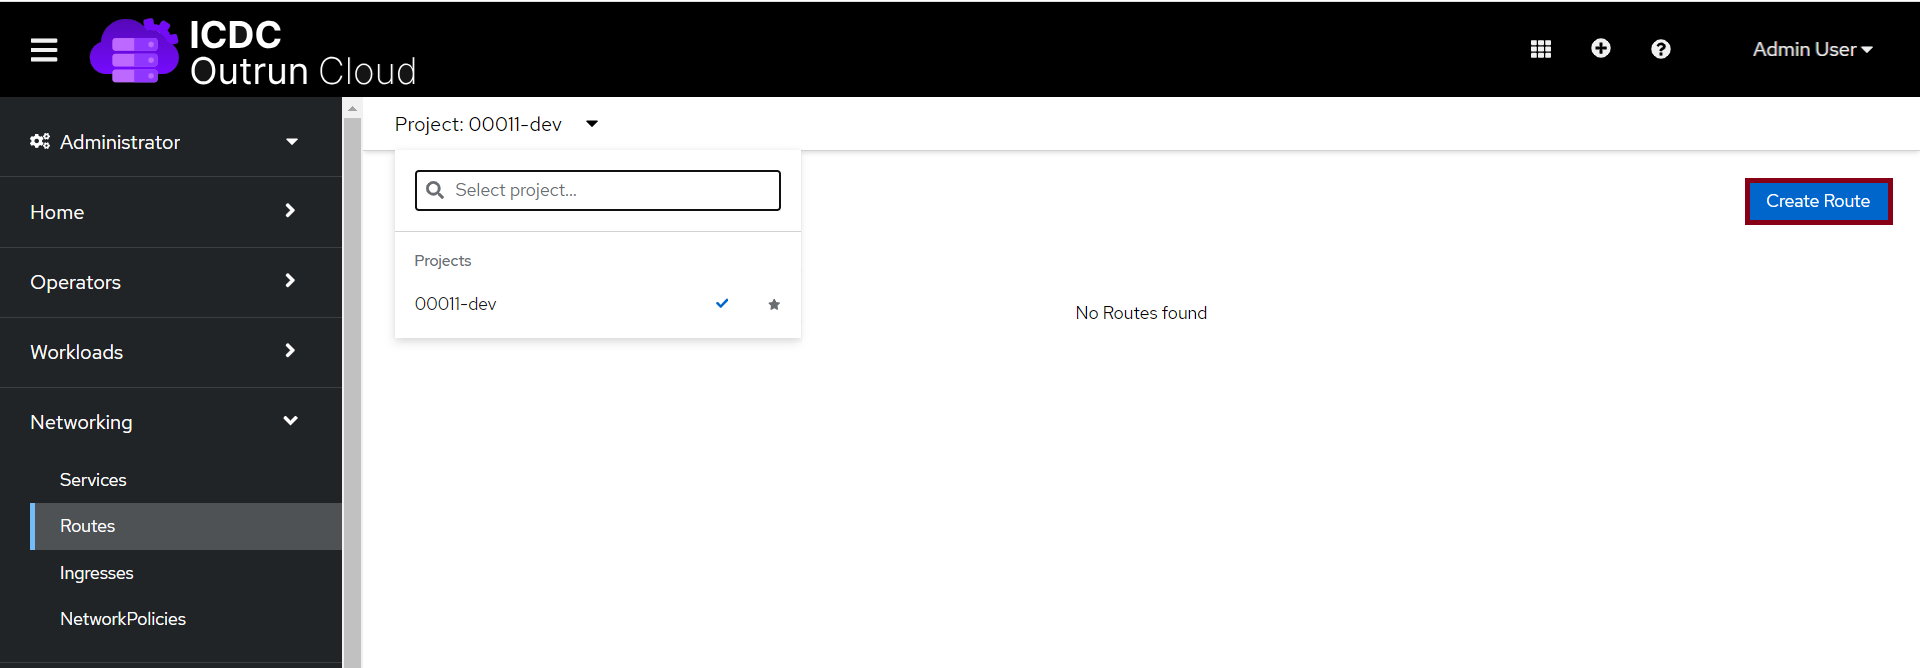
Route Configuration
The main parameter when creating a route is Label router - the router which responsible for providing access to the application route.
To expose route to the Internet label router=public is used, for internal access (local network) label router=private is used.
In the window that opens, the user can select the route configuration method:
- Form view;
- YAML view.
YAML view configuration
In the Samples tab, the user can select one of the route creation examples depending on the access type and domain type:
- Example Custom Domain External Route (example of an external route for an Outrun Cloud custom domain);
- Example Default Domain External Route (an example of an external route for the default Outrun Cloud domain);
- Example Default Domain Internal Route (an example of the internal route of the default Outrun Cloud domain).
Having selected an example, you need to click Try it.

Default Route creation
Let's look at an example of creating an external route with the default domain.
Need to enter the following values:
Name (Route)– route name (in this case -example);Subdomain–service name – instance ID(in this case -example-00011);
Note
Ensure you register a subdomain following the rule above; otherwise, the route may be deleted.
Name (Service)- service name (in this case –example);targetPort– port name in the service.

Click Create.
The route was successfully created if the status is Accepted.
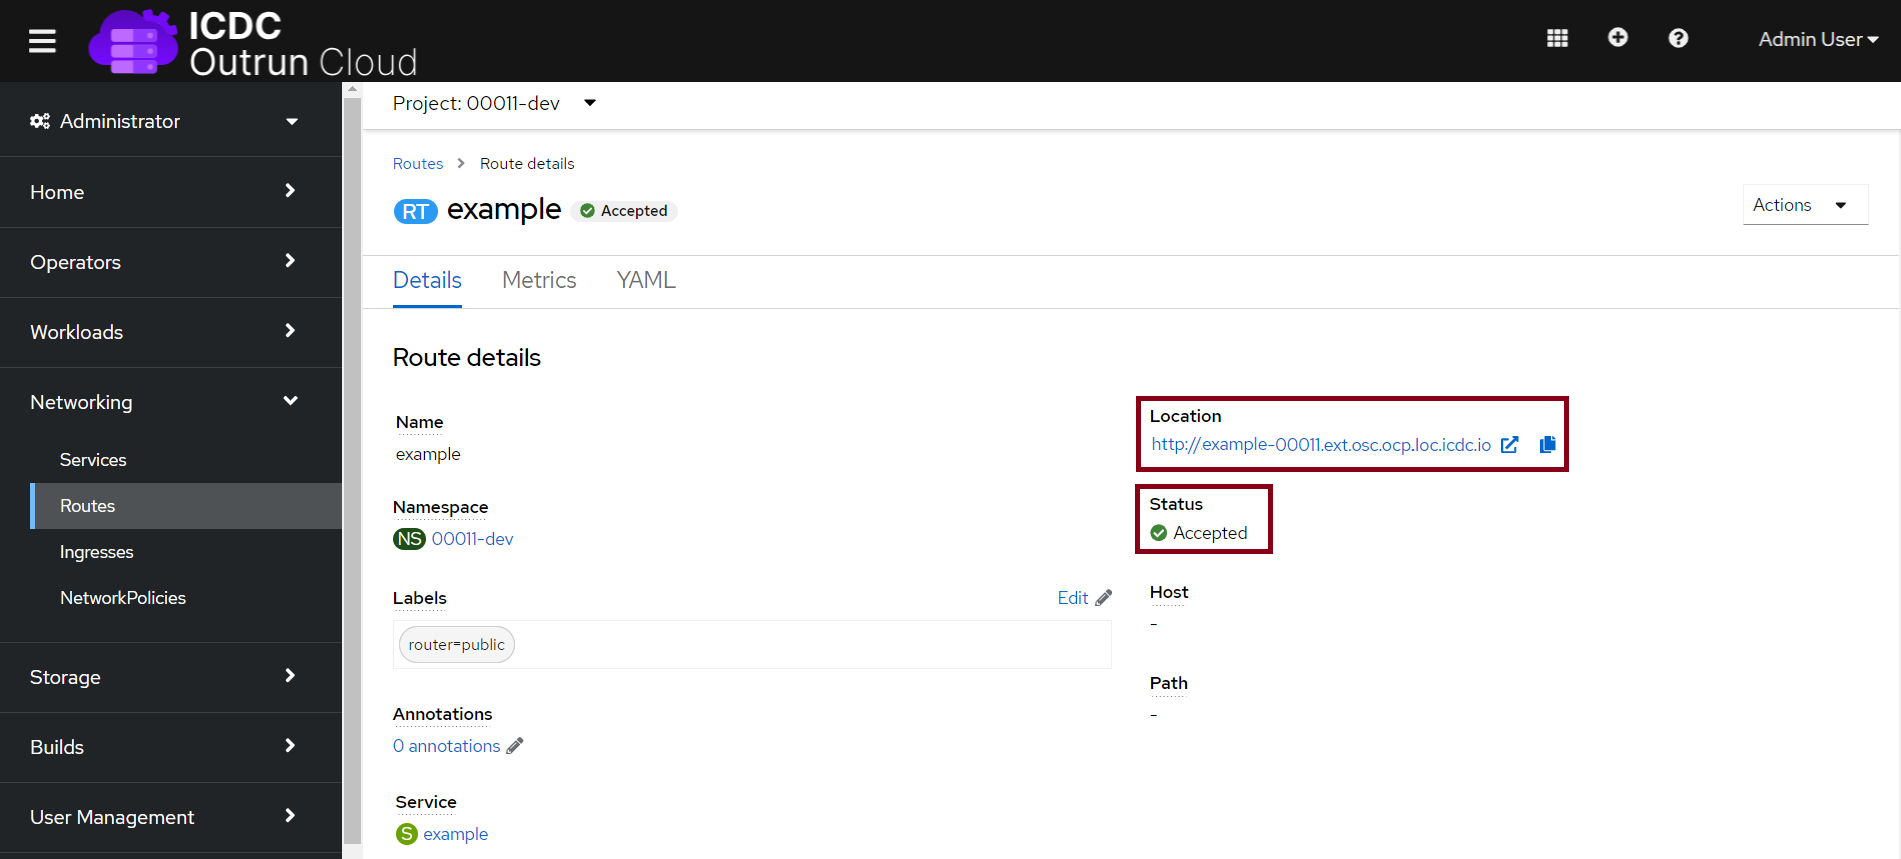
You can verify the route's availability by clicking on the link in the Location field.
Custom Domain Route
To create a route using your custom domain, you need to enter the following values:
Name (Route)– route name (in this case –example);Host- domain service name (in this case –app.example.com);Name (Service)- service name (in this case –example);targetPort– port name in the service.

Click Create.
After creation, the route is assigned the Accepted status.
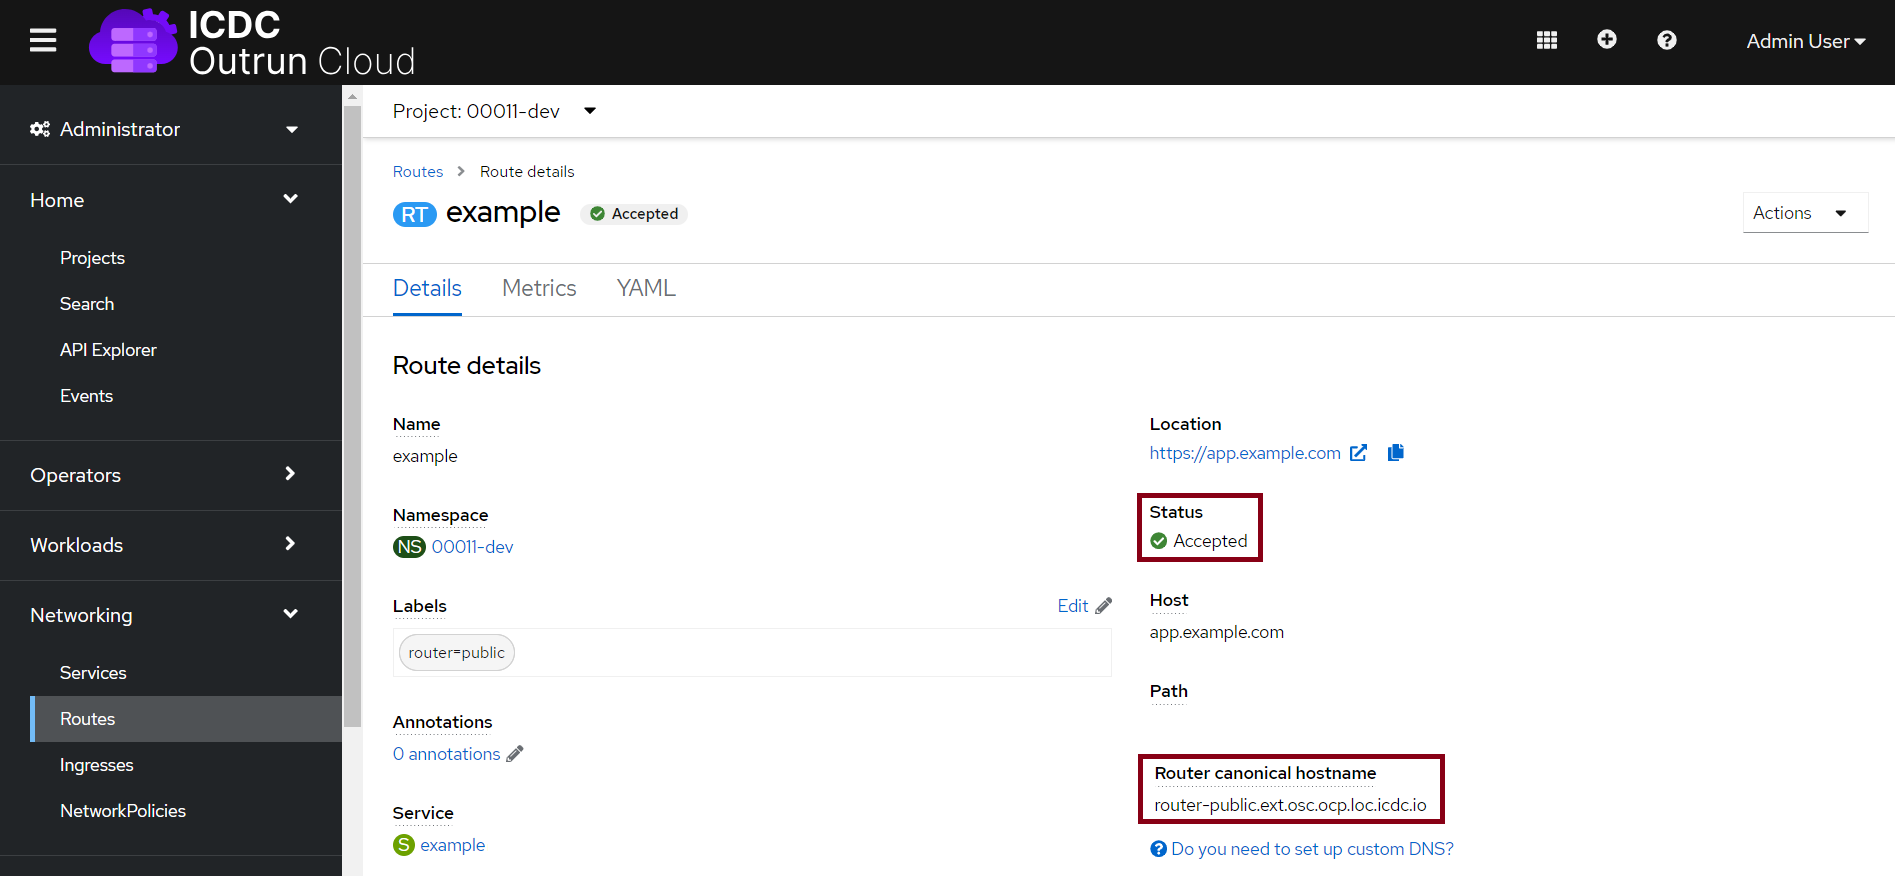
To configure the route, the next step is to create a CNAME record in an existing domain in the DNS Networking application.
In the CNAME tab of the Server name field you need to enter Router canonical hostname and click Add.
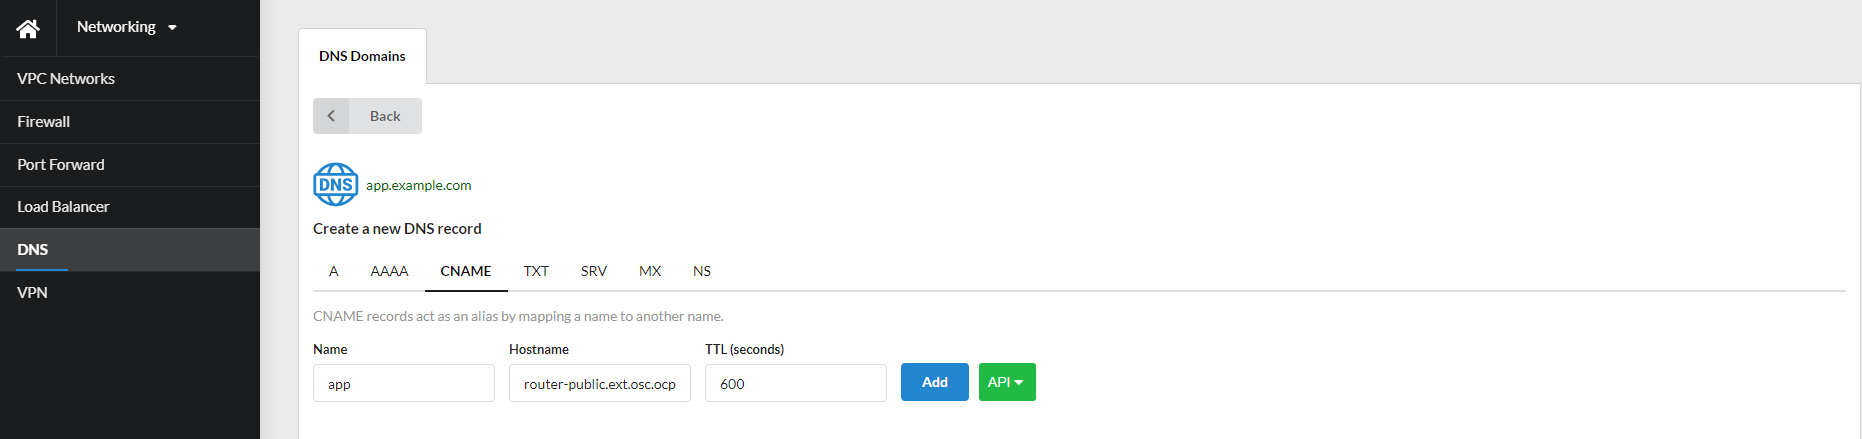
After adding the CNAME record, the created route is considered configured.
Form View configuration
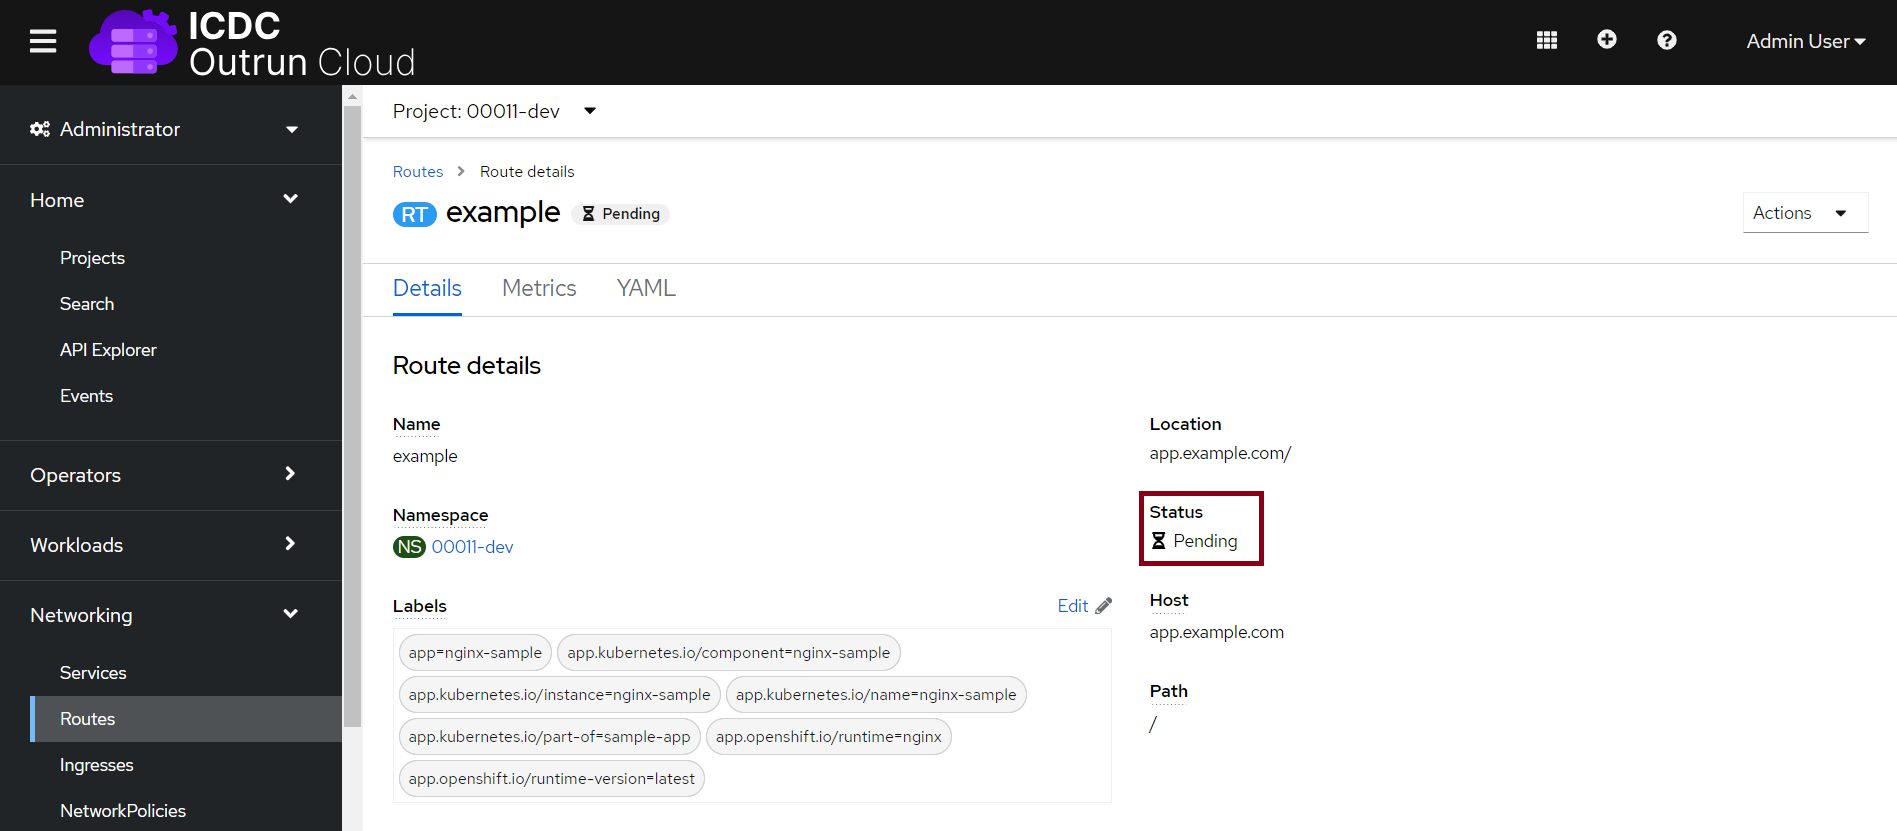
Сustom Domain Route Creation
To create a route through form view, you need to provide the following information:
Name (route)- route name (example);Hostname- domain service name (app.example.com);Service- service name (nginx-sample);Target Port- port name in the service.


Click Create.
After the router is assigned the Pending status, the user needs to add a Label router. To do this, click Edit, add router=public, click Save.
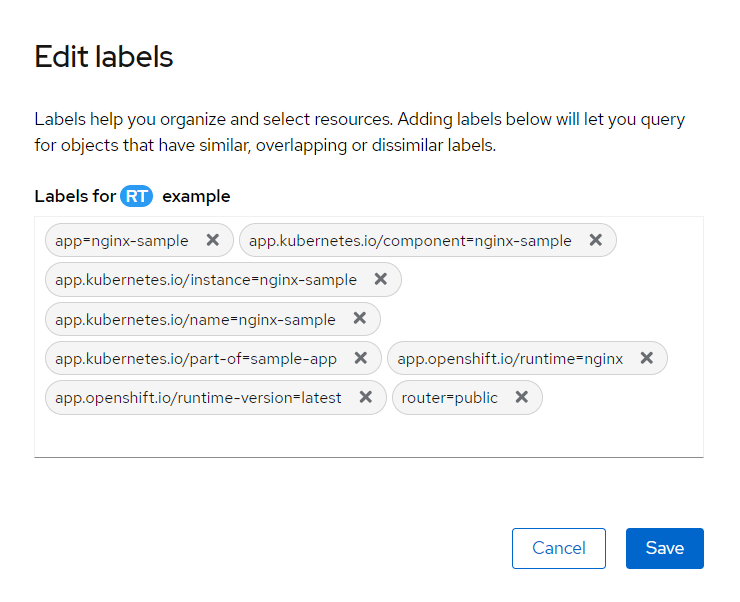
After adding the label, the route is assigned the Accepted status.
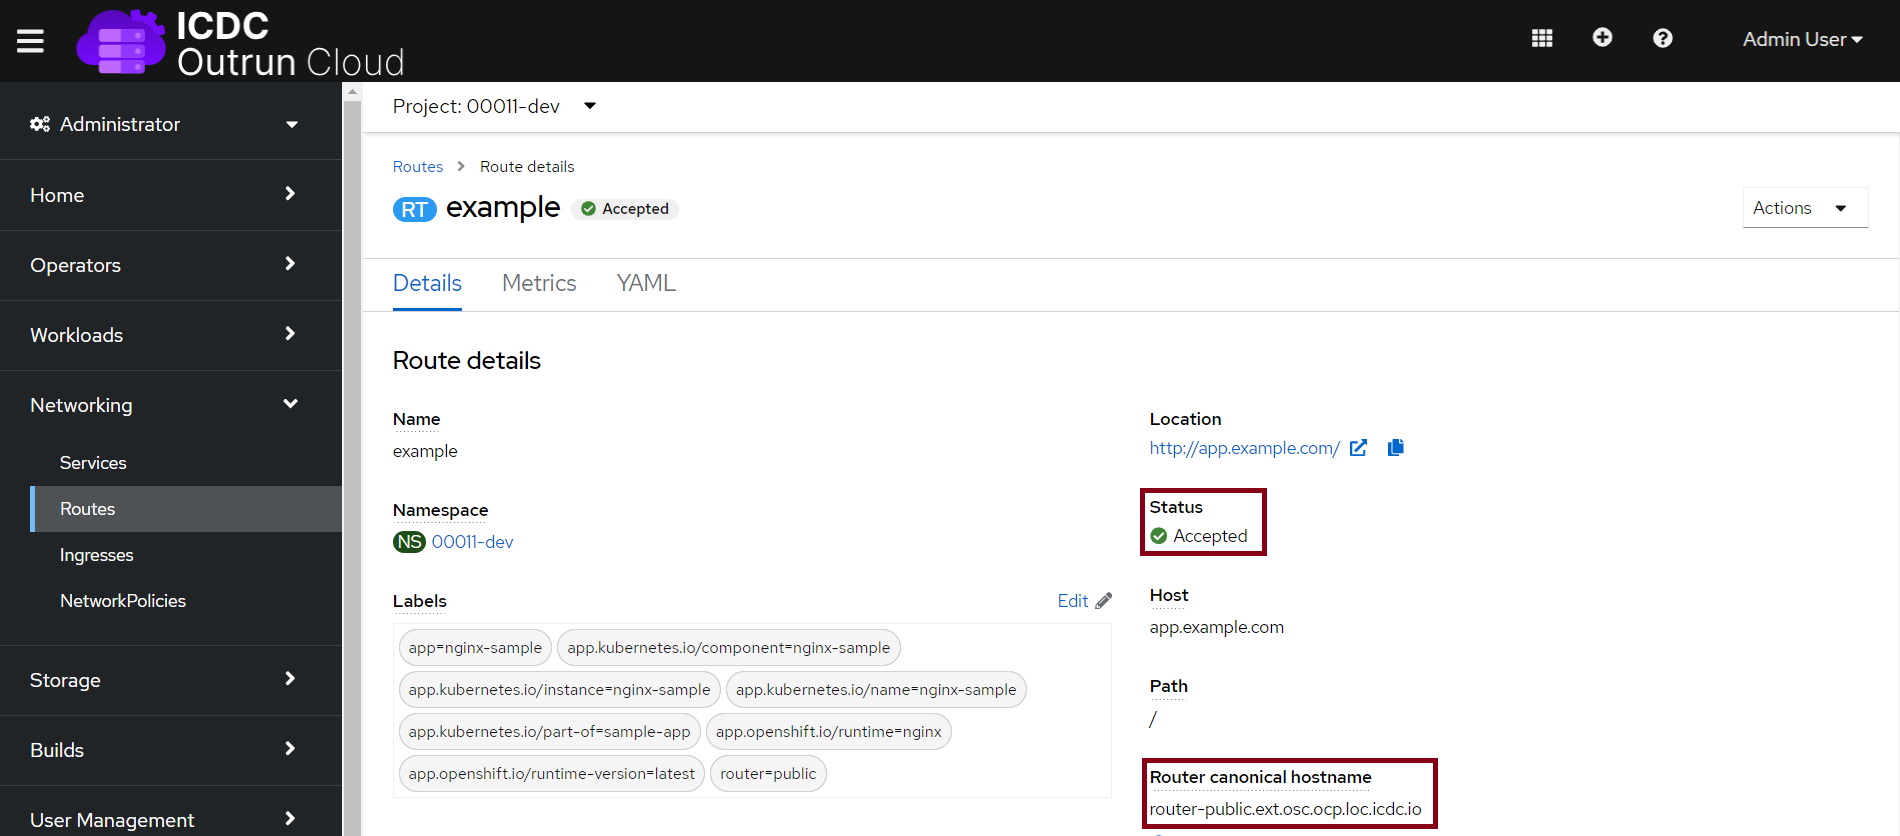
To configure the route, the next step is to create a CNAME record in an existing domain in the DNS Networking application.
In the CNAME tab of the Server name field you need to enter the Router canonical hostname entry and click Add.
After adding the CNAME record, the created route is considered configured.
Roles and Permissions
| Action | Member | Admin | Owner | Operator |
|---|---|---|---|---|
| Route Creation | ✔ | ✔ | ✔ | ✔ |