VPN Gateway
VPN Gateway is a network service that provides a secure virtual private network (VPN).
The main goal of the service is to provide users and developers with an easy and secure way to access their cloud account resources through a VPN.
When an account is created, the platform automatically creates a multifunctional virtual machine called Cloud Gateway, which serves as a VPN server (VPN gateway).
To connect to the VPN, the user’s device must have the Wireguard VPN client software installed.
VPN Gateway functionality includes:
- creating VPN connections and adding VPN client devices;
- using a
Remote Gatewayto combine account networks located in different regions (if the customer uses the ICDC Platform across multiple regions); NAT Mapping— converting IP addresses to resolve subnet overlap issues.
VPN Gateways
The VPN tab displays a list of available VPN Gateways.
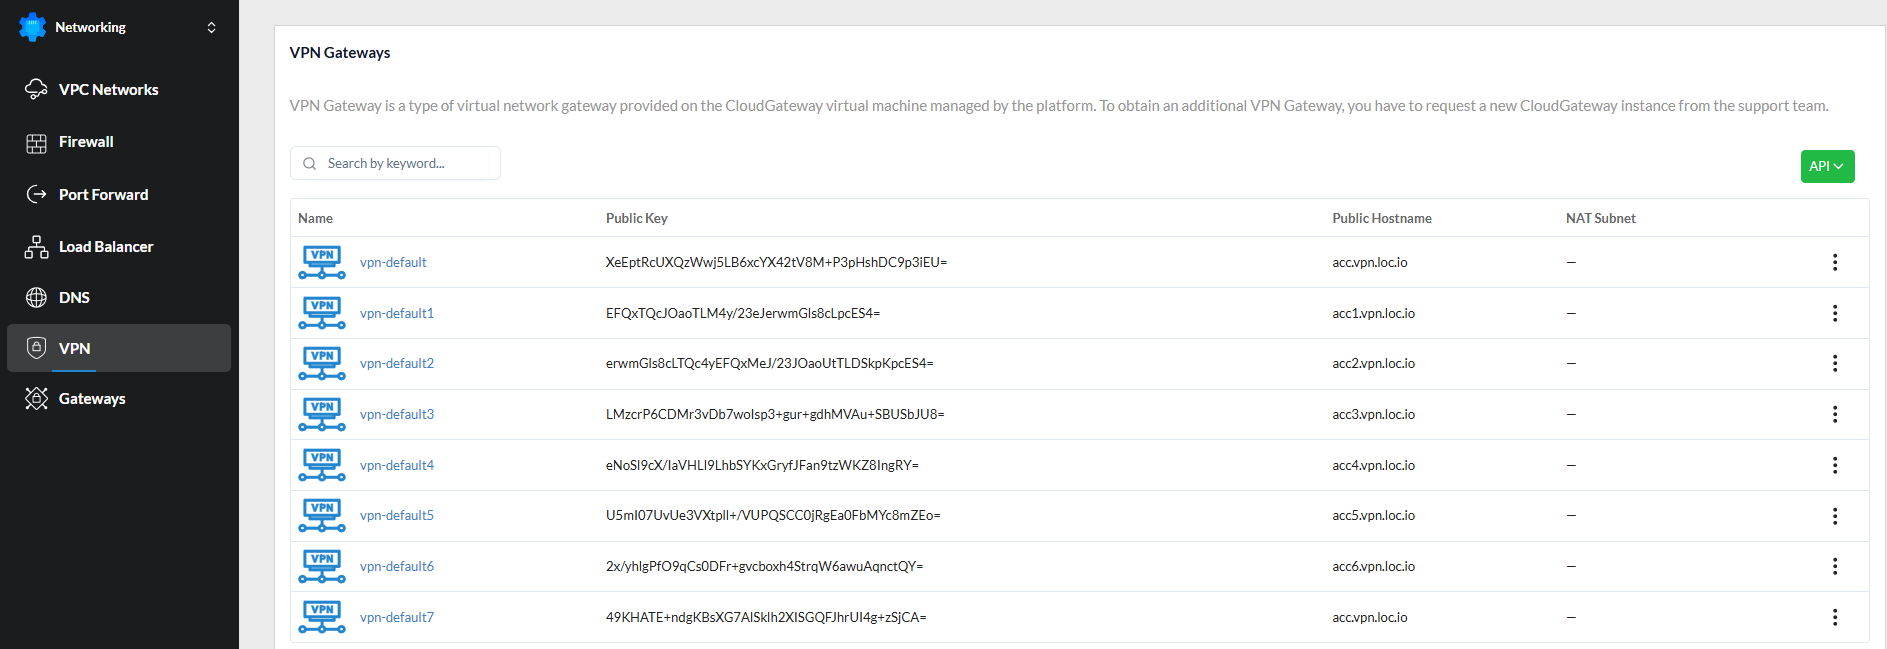
A VPN Gateway is a type of virtual network gateway that is provided on top of a CloudGateway virtual machine that is managed by the platform.
Each VPN Gateway includes:
- a WireGuard public key used for all connections;
- a Public Hostname — by default, the first gateway receives a name in the format
account_name.vpn.location_name.icdc.io; - a NAT Subnet — an additional subnet that does not exist in the location or on user devices, used to translate external client IP addresses into internal IP addresses of virtual machines. This prevents IP range conflicts between client devices and the account networks.
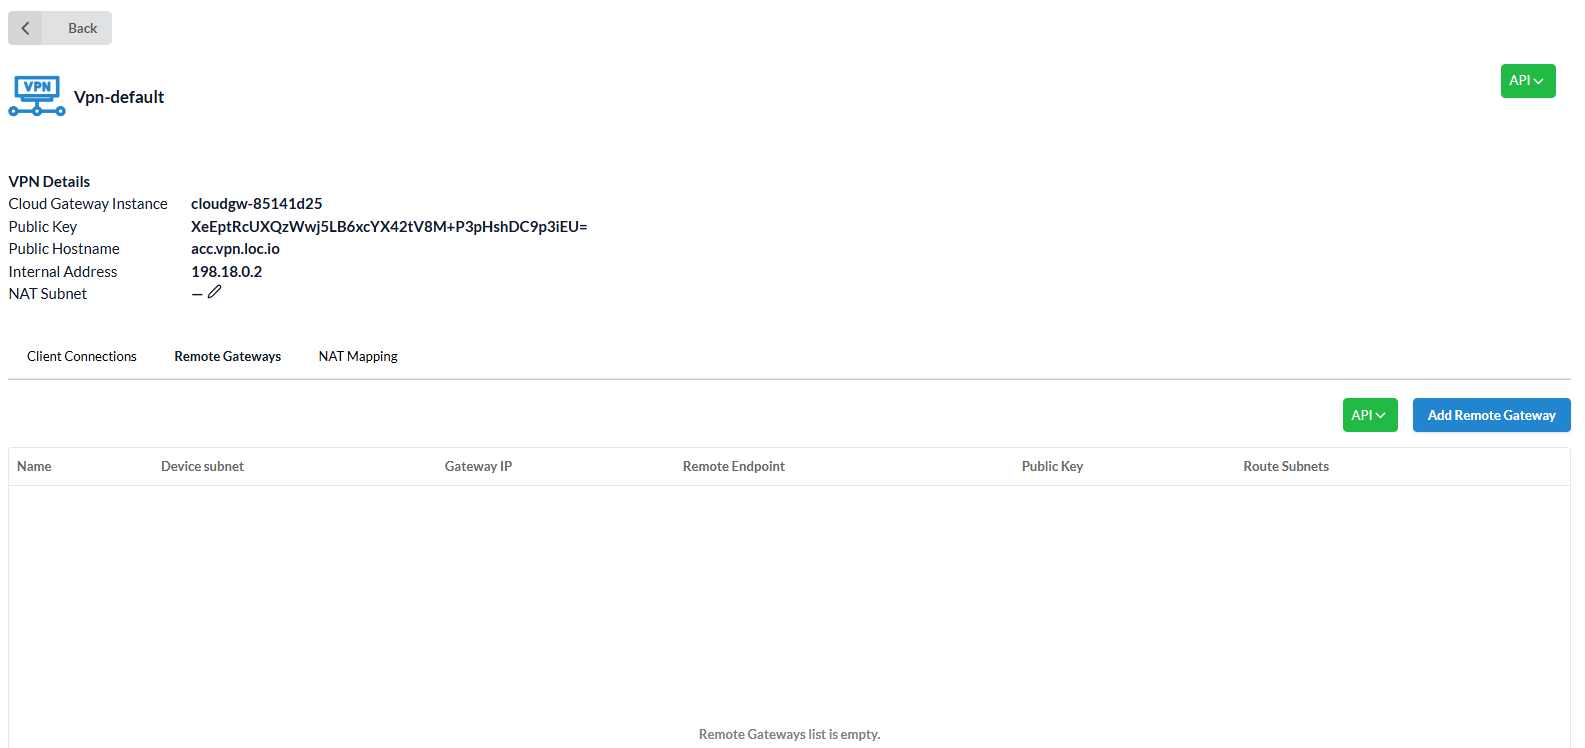
The user can open the VPN Gateway Details page by clicking on a gateway.
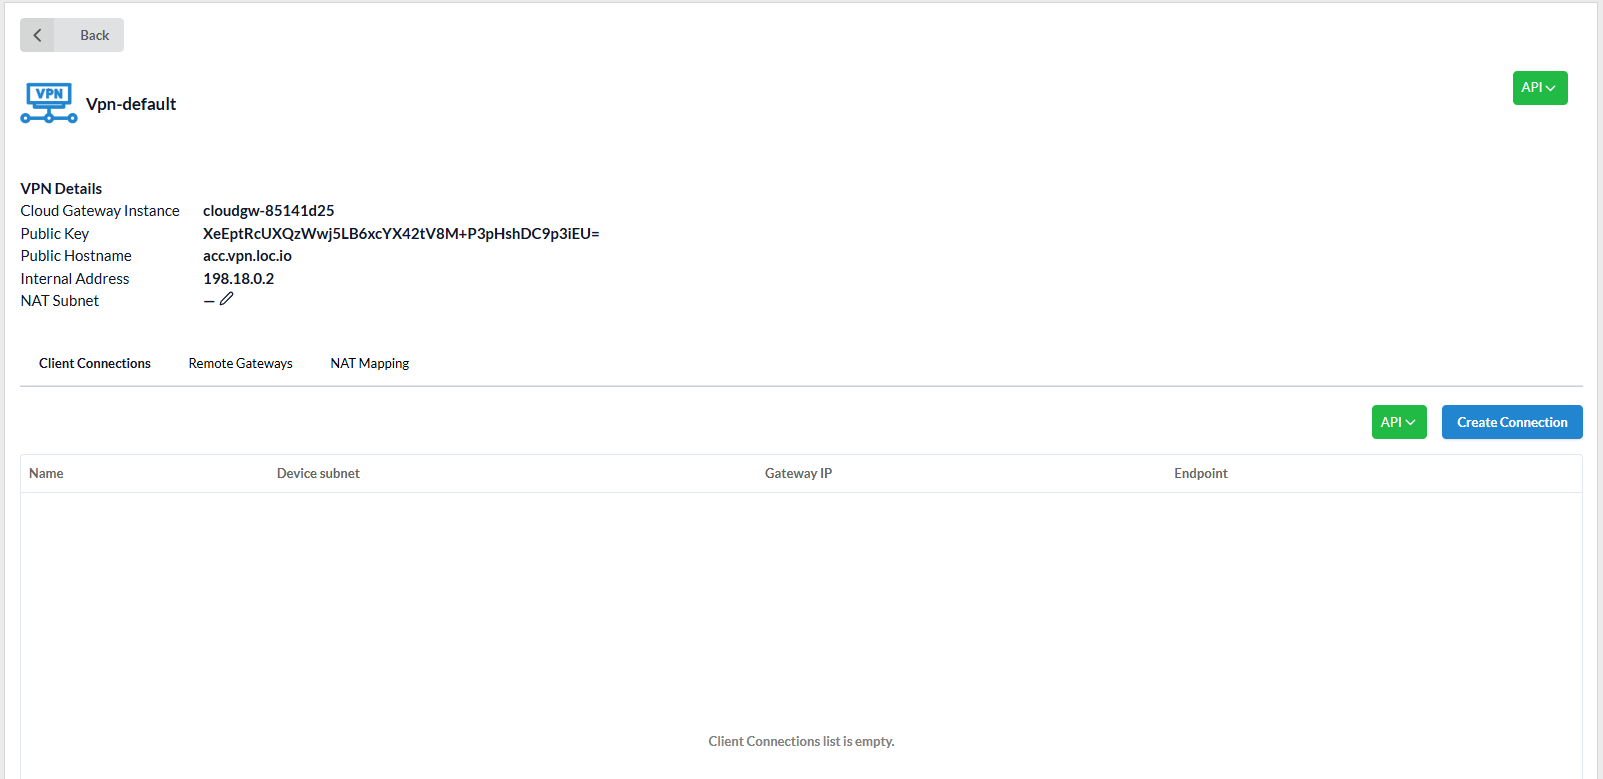
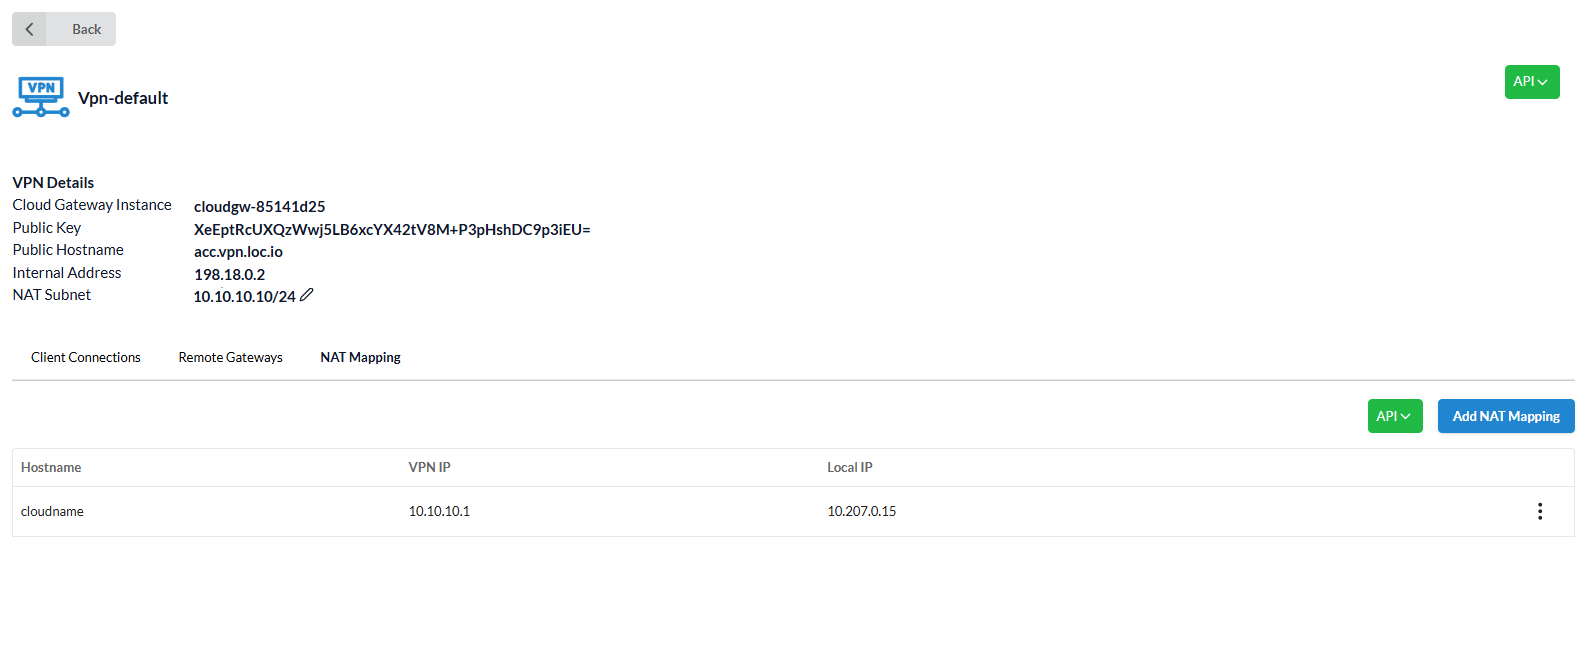
The VPN Details page displays:
Cloud Gateway Instance- indicates the instance where the Gateway is running;- The
Wireguard Public key; Public Hostname-account_name.vpn.location_name.icdc.io;Internal address- the internal address of the gateway used to configure internal routes (for example, when routing traffic between locations through Cloud Gateway);NAT Subnet(optional) - the subnet used for translating addresses to internal virtual machine IPs.
Client Connections
A user can create one or multiple client connections — for example, for different user groups.
When creating a connection, the user must specify a Device Subnet and the VPN Gateway IP address within that subnet (the gateway’s address), which will be used to assign IP addresses to client devices. This subnet must not overlap with VPC subnets or client device networks.
Create a route
In the VPC Networks application under the Routing tab, the user must also add a new route (using the Create button) for the selected subnet through the internal VPN Gateway address (typically 198.18.0.2).
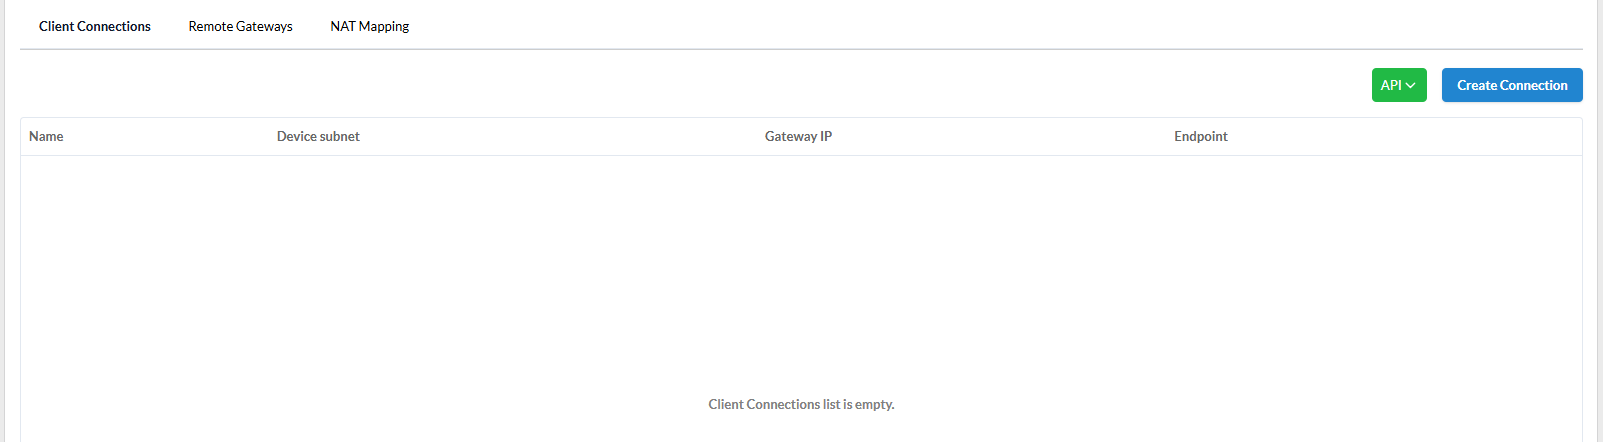
The Client Connections tab displays:
Name of connection- used to generate the name of the VPN and NIC network connections on the client device;Device subnet- the IP address range from which client device addresses are allocated;;Gateway IP- the internal Gateway IP address;Endpoint- the public endpoint for the connection.
IP Address Masquerading in VPN
To simplify access to virtual machines through VPN, by default, VPN client IP addresses are masked — the original IP address is replaced with the VPN Gateway IP (usually 198.18.0.2).
As a result, all clients appear with the same IP address when accessing virtual machine applications.
Router as a VPN client
If the client device is a router providing access to networks on its side, virtual machine IP addresses are also masked by default (source NAT is applied). This avoids the need to configure routes on the client’s router. However, all virtual machines will appear from the client’s side under the same IP address (that of the VPN Gateway).
Connection creating
To create a connection, click Create Connection.
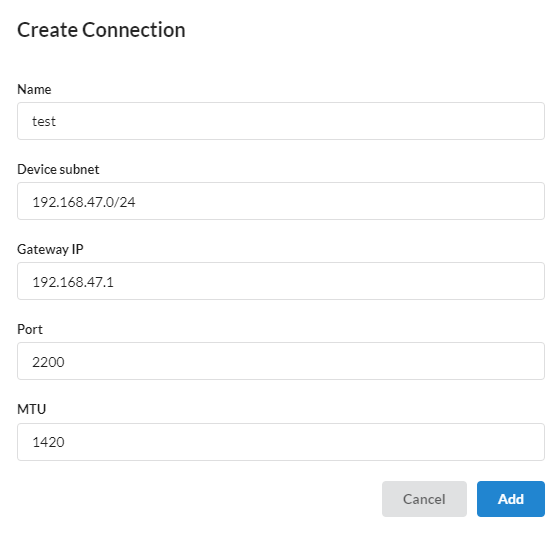
The following fields must be specified:
- Connection
Name; Device subnet- IP address of VPN Gateway on client connection subnet;
Important
The Device Subnet must not overlap with other subnets within the same account that are defined in VPC Networks.
Gateway IP- Gateway's IP address;Port- UDP port on the public IP address;
Recommendation
For the first connection, it is recommended to use port 2200/udp, as it is preconfigured for VPN connections. To add additional ports, contact Support.
MTU(Maximum Transmission Unit) - the recommended value is1420;Enable NAT for the subnet- this option simplifies network configuration by enabling NAT for all VPN devices. It removes the need to adjust routes or security groups for access to the target virtual machines.
Click Add.
The created connection appears in Client Connections and can be edited or deleted via the side menu.

Device adding
Clicking a Client connection opens the Client Connection Details page, where devices can be added using Add Device.
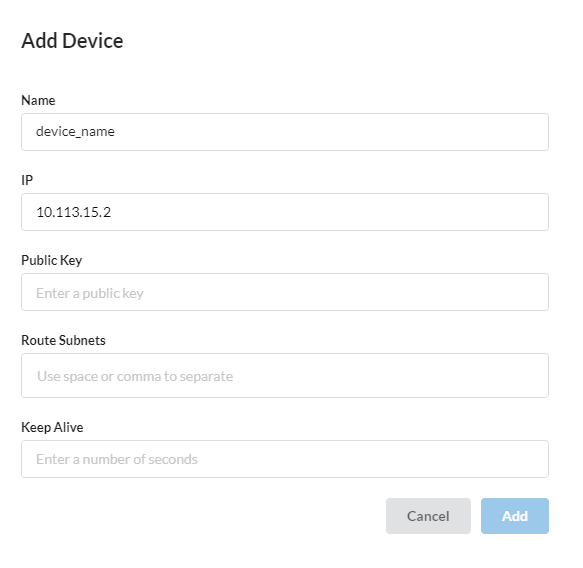
The following fields must be specified:
Nameof device, e.g.John-laptop,Maria-phone;IP-addressof the device, which is generated based on the IP address of the subnet of the client connection;Public key- public key that is generated on the device when creating a new connection in the Wireguard software;Route Subnets(optional) - only used if the device is a remote location VPN gateway.
Here you specify the subnets that need to be routed from a remote location so that traffic from remote networks reaches the networks of the current account;Keep Alive(optional) - time interval during which a packet is sent to maintain a connection to the device's UDP port.
The network firewall behind which the user device is located closes unused connections after a certain interval (usually 30 seconds). Therefore, the common value is 25 seconds.
Click Add.
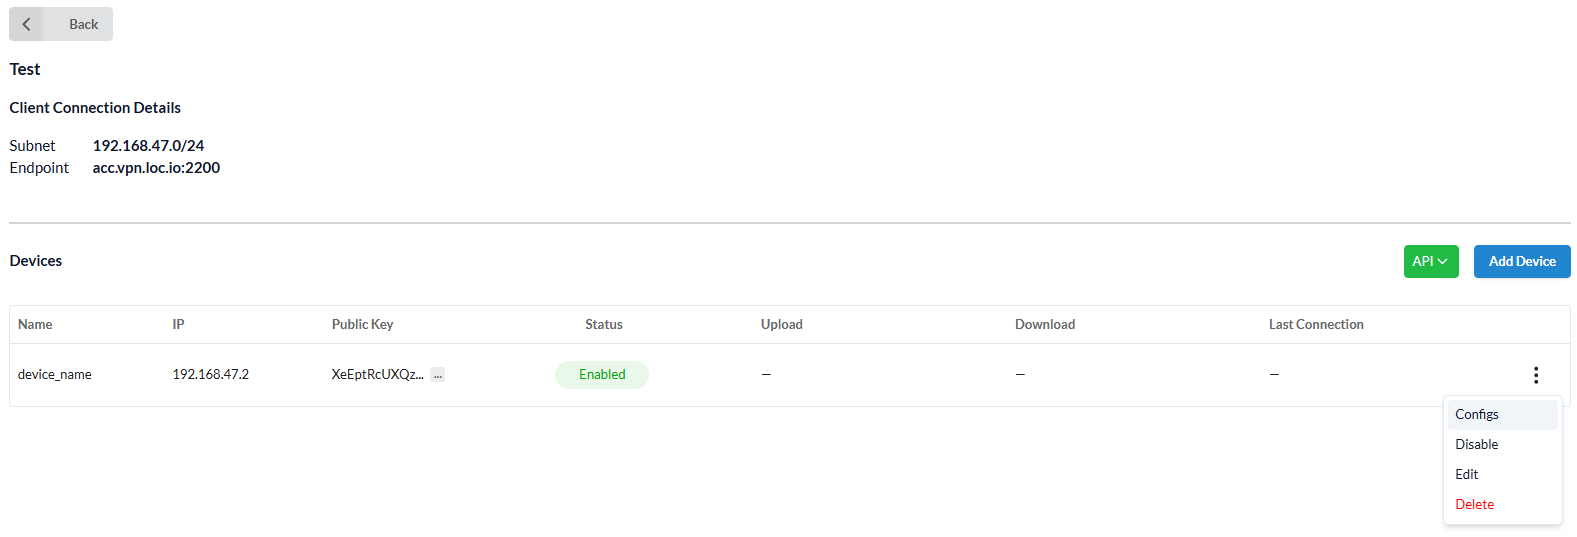
The device will appear in the list, where it can be edited, disabled, or removed.
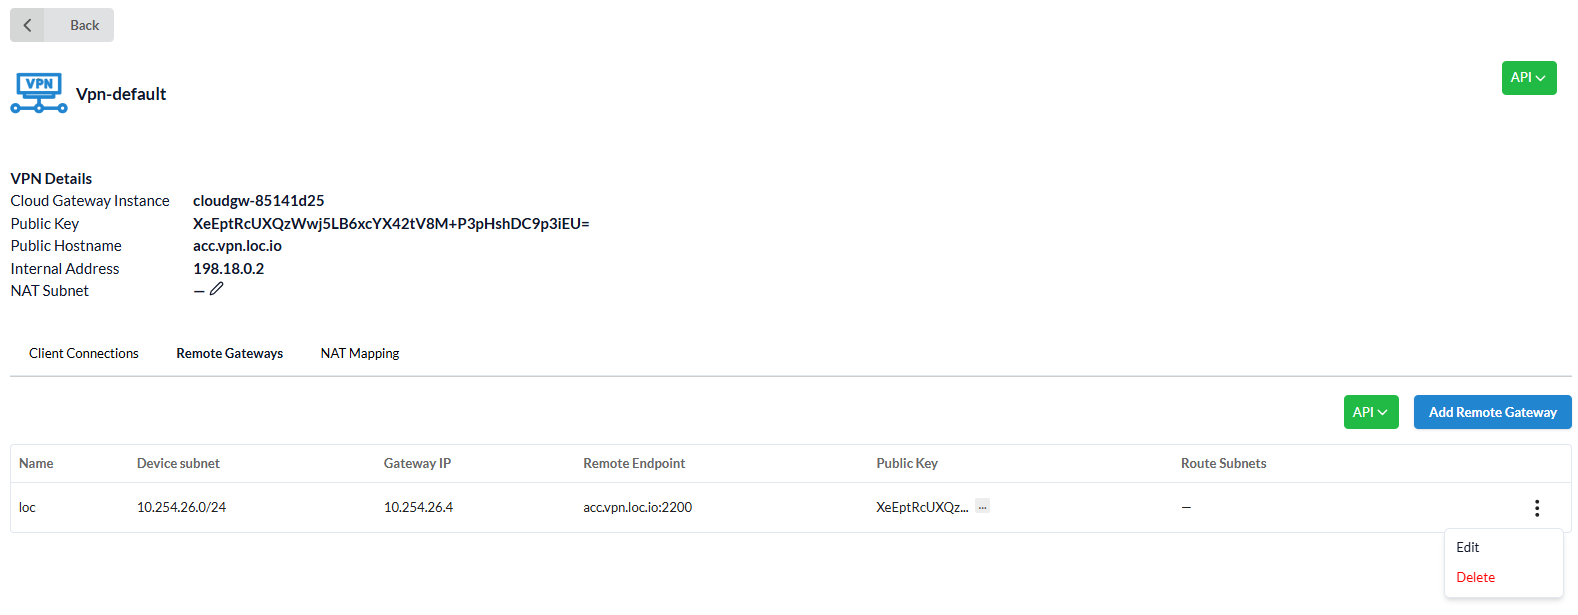
Remote Gateways
Information about remote gateway can be found in the Remote Gateways tab:
Name- name of the gateway;Device subnet- range of IP addresses from which IP addresses will be allocated to devices;Gateway IP- IP address of the gateway;Remote Endpoint- public Endpoint to which the connection is made;Public Key- Wireguard public key;Route Subnets- subnets that need to be routed from a remote location so that traffic from remote networks reaches the current account.
Route Configuration
Adding a remote gateway allows to quickly integrate account networks located in different remote locations. It can also be used to connect the account's networks to a remote Wireguard VPN server, for example, installed in the customer's branch office.
To create network visibility in two different locations (for example, loc1 and loc2), you need to configure static routing:
-
add routing in
loc1location:- Go to VPC Networks page, select the
Routestab and configureRoute subnetson subnets fromloc2; - Go to the VPN page, select Gateway, and then select the
Remote Gatewaystab and configureRoute subnetson subnets fromloc2.
- Go to VPC Networks page, select the
-
add routing in
loc2location:- Go to VPC Networks page, select the
Routestab and configureRoute subnetson subnets fromloc1; - Go to the VPN page, select Gateway, and then select the
Client Connectionstab in the requiredDeviceconfigureRoute subnetson subnets fromloc1.
- Go to VPC Networks page, select the
Remote Gateway adding
To create a remote gateway, click Add Remote Gateway.
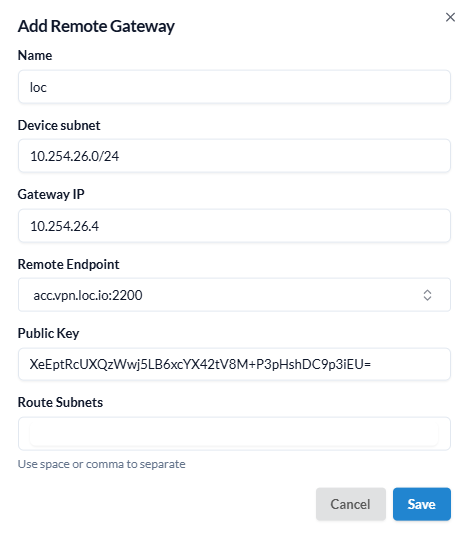
Fill in the required fields and click Add.
The created gateway will appear in the corresponding tab.
NAT Mapping
Network Address Translation (NAT) allows mapping IP addresses from a NAT subnet to internal IP addresses of virtual machines located in non-routable subnets. This is useful when client devices use overlapping IP ranges.
For each NAT mapping, DNS records are automatically created in the format:
<hostname>.<acc>.vpn.<loc>.icdc.io
The NAT Mapping tab displays a list of added NAT mappings.
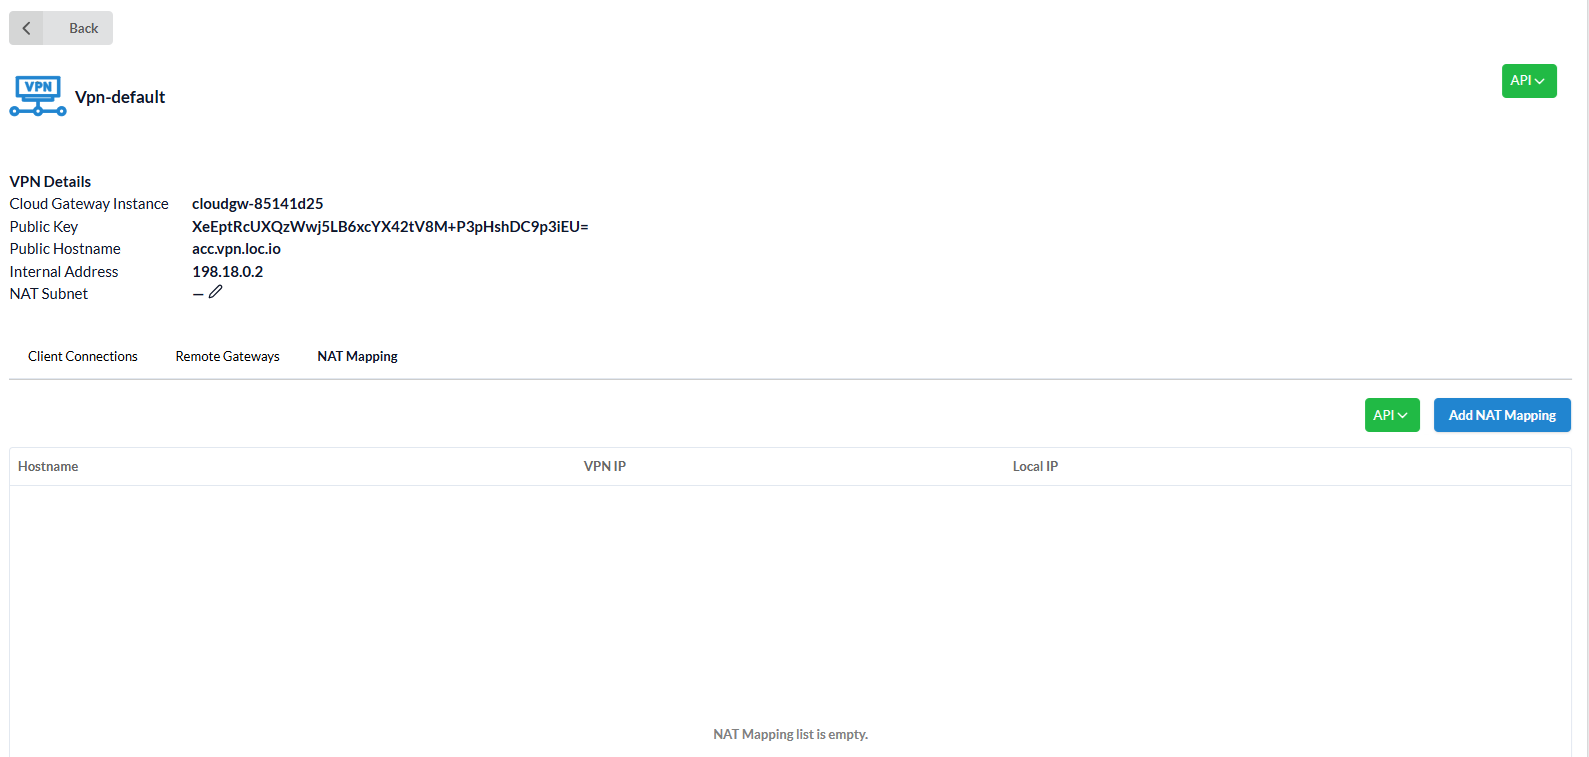
Each NAT mapping includes:
Hostname- automatically highlighted -account_name.loc.icdc.io;VPN IP;Local IP- any internal ip-address within the location.
The user may edit the NAT Subnet from the VPN Details page.
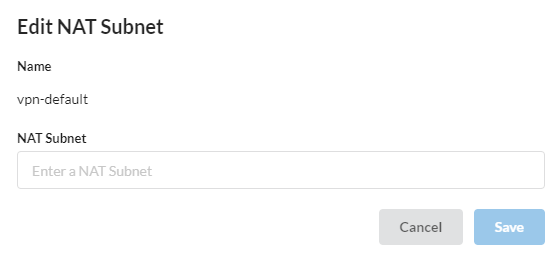
After making changes, click Save or Cancel.
To add a new NAT mapping, click Add NAT Mapping, fill in the fields, and click Add.
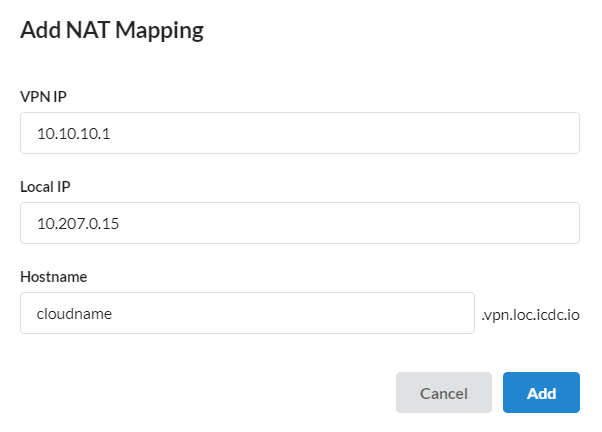
The mapping will appear in the NAT Mapping tab:
Roles and permissions
| Action | Member | Admin | Owner | Operator |
|---|---|---|---|---|
| Connections | ||||
| Create Connection | ✔ | ✔ | ✔ | |
| Edit Connection | ✔ | ✔ | ✔ | |
| Delete Connection | ✔ | ✔ | ✔ | |
| Devices | ||||
| Add Device | ✔ | ✔ | ✔ | ✔ |
| Edit Device | ✔ only own | ✔ | ✔ | ✔ |
| Disable Device | ✔ only own | ✔ | ✔ | ✔ |
| Delete Device | ✔ only own | ✔ | ✔ | ✔ |
| Configs for Devices | ✔ only own | ✔ | ✔ | ✔ |
| Gateways | ||||
| Add Remote Gateway | ✔ | ✔ | ✔ | |
| Edit Remote Gateways | ✔ | ✔ | ✔ | |
| Delete Remote Gateways | ✔ | ✔ | ✔ | |
| NAT Mapping | ||||
| Create NAT Mapping | ✔ | ✔ | ✔ | |
| Edit NAT Mapping | ✔ | ✔ | ✔ | |
| Delete NAT Mapping | ✔ | ✔ | ✔ |